解析 webpack 核心——Loader 原理
我们再上一次的分享中已经做出了一个简易的打包器,但是我们只能加载 JS 不能加载 CSS
如何加载 CSS
思路:目前bundler_1.ts只能加载 JS,想要加载 CSS,就需要将 CSS 转化为 JS
代码:
1 2 3 4 5 6 7 8 9 10 11 12 13 if (/\.css$/ .test(filepath)) { code = ` const str = ${JSON .stringify(code)} if (document) { const style = document.createElement('style') style.innerHTML = str style.type = 'text/css' document.head.appendChild(style) } export default str ` ;}
创建一个 CSS loader 1 2 3 4 5 6 7 8 9 10 11 12 13 14 15 16 17 18 19 20 21 22 23 24 25 26 27 28 29 30 31 32 33 34 35 36 37 38 39 40 41 42 43 44 45 46 47 48 49 50 51 52 53 54 55 56 57 58 59 60 61 62 63 64 65 66 67 68 69 70 71 72 73 74 75 76 77 78 79 80 81 82 83 84 85 86 87 88 89 90 91 92 93 94 95 96 97 98 99 100 101 102 103 104 105 106 107 108 109 110 111 112 113 114 115 116 117 118 119 120 121 122 123 124 125 126 127 128 129 130 131 132 133 134 135 136 137 138 139 140 141 142 143 144 145 146 147 148 149 150 151 152 153 154 155 156 157 158 import { parse } from "@babel/parser" ;import traverse from "@babel/traverse" ;import { writeFileSync, readFileSync } from "fs" ;import { resolve, relative, dirname, join } from "path" ;import * as babel from "@babel/core" ;import { mkdir } from "shelljs" ;const projectName = "project_css" ;const projectRoot = resolve(__dirname, projectName);type DepRelation = { key : string, deps : string[], code : string }[]; const depRelation: DepRelation = []; collectCodeAndDeps(resolve(projectRoot, "index.js" )); const dir = `./${projectName} /dist` ;mkdir("-p" , dir); writeFileSync(join(dir, "bundle.js" ), generateCode()); console .log("done" );function generateCode ( let code = "" ; code += "var depRelation = [" + depRelation .map((item ) => { const { key, deps, code } = item; return `{ key: ${JSON .stringify(key)} , deps: ${JSON .stringify(deps)} , code: function(require, module, exports){ ${code} } }` ; }) .join("," ) + "];\n" ; code += "var modules = {};\n" ; code += `execute(depRelation[0].key)\n` ; code += ` function execute(key) { if (modules[key]) { return modules[key] } var item = depRelation.find(i => i.key === key) if (!item) { throw new Error(\`\${item} is not found\`) } var pathToKey = (path) => { var dirname = key.substring(0, key.lastIndexOf('/') + 1) var projectPath = (dirname + path).replace(\/\\.\\\/\/g, '').replace(\/\\\/\\\/\/, '/') return projectPath } var require = (path) => { return execute(pathToKey(path)) } modules[key] = { __esModule: true } var module = { exports: modules[key] } item.code(require, module, module.exports) return modules[key] } ` ; return code; } function collectCodeAndDeps (filepath: string ) const key = getProjectPath(filepath); if (depRelation.find((i ) => i.key === key)) { return ; } let code = readFileSync(filepath).toString(); if (/\.css$/ .test(filepath)) { code = ` const str = ${JSON .stringify(code)} if (document) { const style = document.createElement('style') style.innerHTML = str style.type = 'text/css' document.head.appendChild(style) } export default str ` ; } const { code : es5Code } = babel.transform(code, { presets: ["@babel/preset-env" ], }); const item = { key, deps : [], code : es5Code }; depRelation.push(item); const ast = parse(code, { sourceType : "module" }); traverse(ast, { enter: (path ) => { if (path.node.type === "ImportDeclaration" ) { const depAbsolutePath = resolve( dirname(filepath), path.node.source.value ); const depProjectPath = getProjectPath(depAbsolutePath); item.deps.push(depProjectPath); collectCodeAndDeps(depAbsolutePath); } }, }); } function getProjectPath (path: string ) return relative(projectRoot, path).replace(/\\/g , "/" ); } import a from './a.js' import b from './b.js' import './style.css' console .log(a.getB())console .log(b.getA())import b from './b.js' const a = { value: 'a' , getB: () => b.value + ' from a.js' } export default aimport a from './a.js' const b = { value: 'b' , getA: () => a.value + ' from b.js' } export default bbody { color: red; }
运行node -r ts-node/register bundler_1.ts打包成功后project_css目录下会新增文件bundle.js
我们可以看到CSS部分代码成功打包进去了
1 2 3 4 5 6 7 8 9 10 11 12 13 14 15 16 17 18 19 20 21 22 23 24 25 26 exports ["default" ] = _default; } },{ key: "style.css" , deps: [], code: function (require , module , exports "use strict" ;Object .defineProperty(exports , "__esModule" , { value: true }); exports ["default" ] = void 0 ;var str = "body {\r\n color: red;\r\n}" ;if (document ) { var style = document .createElement('style' ); style.innerHTML = str; style.type = 'text/css' ; document .head.appendChild(style); } var _default = str;exports ["default" ] = _default; } }];
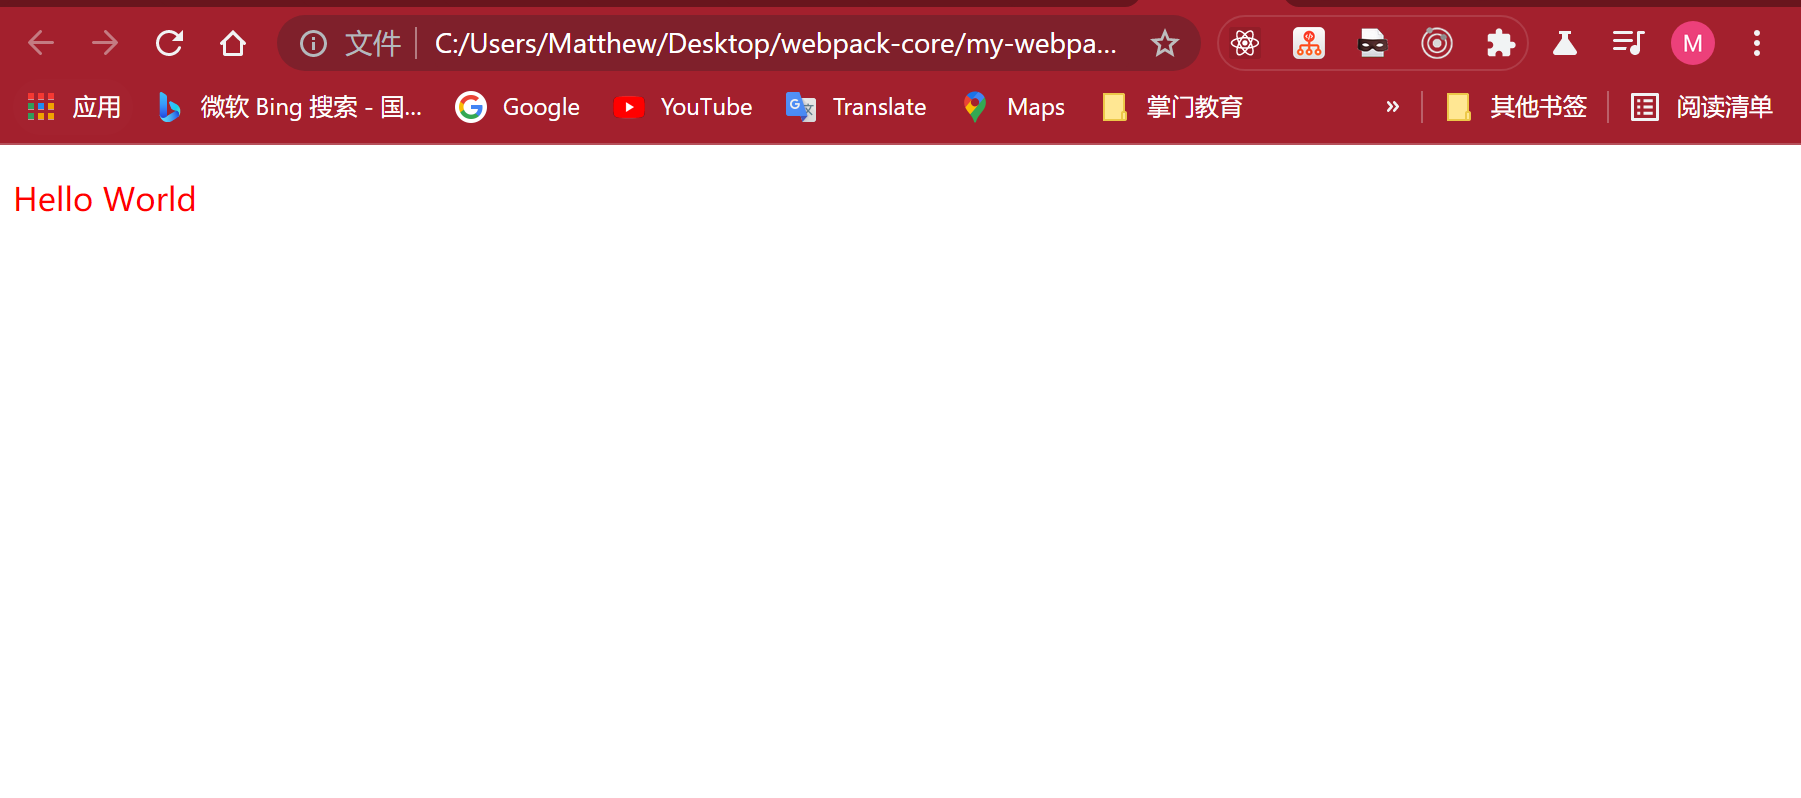
我们可以再dist目录下创建一个index.html引入打包后文件bundle.js浏览器运行看看效果
Loader 长什么样
参考:如何编写一个 loader
如何编写一个 loader
loader 本质上是导出为函数的 JavaScript 模块
loader runner 会调用此函数,然后将上一个 loader 产生的结果或者资源文件传入进去
函数中的 this 作为上下文会被 webpack 填充,并且 loader runner 中包含一些实用的方法,比如可以使 loader 调用方式变为异步,或者获取 query 参数
同步 Loaders
1 2 3 4 5 6 7 8 9 10 module .exports = function (content, map, meta ) return someSyncOperation(content); }; module .exports = function (content, map, meta ) this .callback(null , someSyncOperation(content), map, meta); return ; };
1 2 3 4 5 6 7 8 9 10 11 12 13 14 15 16 17 module .exports = function (content, map, meta ) var callback = this .async(); someAsyncOperation(content, function (err, result ) if (err) return callback(err); callback(null , result, map, meta); }); }; module .exports = function (content, map, meta ) var callback = this .async(); someAsyncOperation(content, function (err, result, sourceMaps, meta ) if (err) return callback(err); callback(null , result, sourceMaps, meta); }); };
1 2 3 4 5 6 7 8 module .exports = function (content ) assert(content instanceof Buffer); return someSyncOperation(content); }; module .exports.raw = true ;
对于以下 use 配置:
1
2
3
4
5
6
7
8
9
10
11
module .exports = { module : { rules: [ { use: ["a-loader" , "b-loader" , "c-loader" ], }, ], }, };
将会发生这些步骤:
1
2
3
4
5
6
7
|- a-loader `pitch` |- b-loader `pitch` |- c-loader `pitch` |- requested module is picked up as a dependency |- c-loader normal execution |- b-loader normal execution |- a-loader normal execution
简单来说,pitch 钩子函数同步 data 数据和共享前面信息, 如果某个 loader 在 pitch 方法中给出一个结果,那么这个过程会回过身来,并跳过剩下的 loader
如果 b-loader 的 pitch 方法返回了一些东西:
1
2
3
4
5
6
7
8
9
10
11
12
13
module .exports = function (content ) return someSyncOperation(content); }; module .exports.pitch = function (remainingRequest, precedingRequest, data ) if (someCondition()) { return ( "module.exports = require(" + JSON .stringify("-!" + remainingRequest) + ");" ); } };
上面的步骤将被缩短为:
1
2
3
|- a-loader `pitch` |- b-loader `pitch` returns a module |- a-loader normal execution
目前 Loader 存在的问题
1 2 3 4 5 6 7 8 9 10 11 12 13 14 15 16 17 18 19 20 21 22 23 24 25 26 27 28 29 30 31 32 33 34 35 if (/\.css$/ .test(filepath)) { code = require ("./loaders/css-loader" )(code); code = require ("./loaders/style-loader" )(code); } const transform = (code ) => ` const str = ${JSON .stringify(code)} export default str ` ;module .exports = transform;const transform = (code ) => ` if (document) { const style = document.createElement('style') style.innerHTML = ${JSON .stringify(code)} style.type = 'text/css' document.head.appendChild(style) } export default str ` ;module .exports = transform;
阅读源码前必读 看源码的一点方法论
raw-loader 和 file-loader 源码阅读
raw-loader@0.1.5
file-loader@0.8.2
1 2 3 4 5 6 7 8 9 10 11 12 13 14 15 16 17 18 19 20 21 22 23 module .exports = function ( var args = Array .prototype.slice.call(arguments ); args = args.join("" ); this .values = [args]; return "module.exports = " + JSON .stringify(args); }; module .exports = function (content ) this .cacheable && this .cacheable(); if (!this .emitFile) throw new Error ("emitFile is required from module system" ); var query = loaderUtils.parseQuery(this .query); var url = loaderUtils.interpolateName(this , query.name || "[hash].[ext]" , { context: query.context || this .options.context, content: content, regExp: query.regExp, }); this .emitFile(url, content); return "module.exports = __webpack_public_path__ + " + JSON .stringify(url); }; module .exports.raw = true ;
css-loader 和 style-loader 源码阅读
style-loader@0.13.0
css-loader@0.28.4
css-loader 和 style-loader 都做了什么,怎么做的?
下载 style-loader 源码切换到就一点的版本,进入源码找到入口文件index.js,代码折叠后
1 2 3 4 5 6 7 module .exports = function ( }; module .exports.pitch = function (remainingRequest ) };
就简单两个函数,导出了一个空函数,并且在空函数对象上挂了一个 pitch 函数, 在 pitch 阶段完成<style>标签挂载 DOM,关于pitch 可以看看上文
pitch 函数核心代码如下, 源码注释也很清楚
1 2 3 4 5 6 7 8 9 10 11 12 13 14 15 16 17 18 19 20 var query = loaderUtils.parseQuery(this .query);return [ "// style-loader: Adds some css to the DOM by adding a <style> tag" , "" , "// load the styles" , "var content = require(" + loaderUtils.stringifyRequest(this , "!!" + remainingRequest) + ");" , "if(typeof content === 'string') content = [[module.id, content, '']];" , "// add the styles to the DOM" , "var update = require(" + loaderUtils.stringifyRequest( this , "!" + path.join(__dirname, "addStyles.js" ) ) + ")(content, " + JSON .stringify(query) + ");" , ].join("\n" );
原理式通过 JS 将<style>标签插到 DOM 里,首先加载 style 内容,然后插入 DOM, 插入 DOM 核心实现是addStyles.js,其核心代码如下:
1 2 3 4 5 6 7 8 9 module .exports = function (list, options ) var styles = listToStyles(list); addStylesToDom(styles, options); return function update (newList ) }; };
可以看到,核心就是addStylesToDom函数,再进入就是addStyle函数
1
2
3
4
5
6
7
8
9
10
11
12
13
14
15
16
17
18
19
20
21
22
23
24
25
26
27
28
29
30
31
32
33
34
35
36
37
38
39
40
41
42
43
44
45
46
47
48
49
50
51
52
53
54
55
function createStyleElement (options ) var styleElement = document .createElement("style" ); styleElement.type = "text/css" ; insertStyleElement(options, styleElement); return styleElement; } function addStyle (obj, options ) var styleElement, update, remove; if (options.singleton) { var styleIndex = singletonCounter++; styleElement = singletonElement || (singletonElement = createStyleElement(options)); update = applyToSingletonTag.bind(null , styleElement, styleIndex, false ); remove = applyToSingletonTag.bind(null , styleElement, styleIndex, true ); } else if ( obj.sourceMap && typeof URL === "function" && typeof URL.createObjectURL === "function" && typeof URL.revokeObjectURL === "function" && typeof Blob === "function" && typeof btoa === "function" ) { styleElement = createLinkElement(options); update = updateLink.bind(null , styleElement); remove = function ( removeStyleElement(styleElement); if (styleElement.href) URL.revokeObjectURL(styleElement.href); }; } else { styleElement = createStyleElement(options); update = applyToTag.bind(null , styleElement); remove = function ( removeStyleElement(styleElement); }; } update(obj); return function updateStyle (newObj ) if (newObj) { if ( newObj.css === obj.css && newObj.media === obj.media && newObj.sourceMap === obj.sourceMap ) return ; update((obj = newObj)); } else { remove(); } }; }
看到createStyleElement我们就清楚了 style 是如何被插入 DOM 的
我们可以新建一个 demo 调试一下源码,进一步验证
loader 面试题
Webpack 的 loader 是什么?
webpack 自带的打包器只能支持 JS 文件
当我们想要加载 css/less/scss/stylus/ts/md 文件时,就需要用 loader
loader 的原理就是把文件内容包装成能运行的 JSstyle-loader 和 css-loadercss-loader 把代码从 CSS 代码变成 export default str 形式的 JS 代码style-loader 把代码挂载到 head 里的 style 标签里
实力允许的话可以深入讲一下 style-loader 用到了 pitch 钩子和 request 对象
loader 和 plugin 的区别,执行顺序等
写过 loader 可以讲一下思路
源码参考:https://github.com/Matthrews/webpack-core
 wechat
 alipay